How to draw a gnome
A forest gnome with a pointed cap, braids and an apron is a good character to practice on: you stack simple shapes from top to bottom, a head, a triangle cap and a bell-shaped dress.
- Cartoon
- Advanced
- 45 min
- 9 stages
Draw on paper with any pencil or pen. Compare each stage with the guide before you move on.


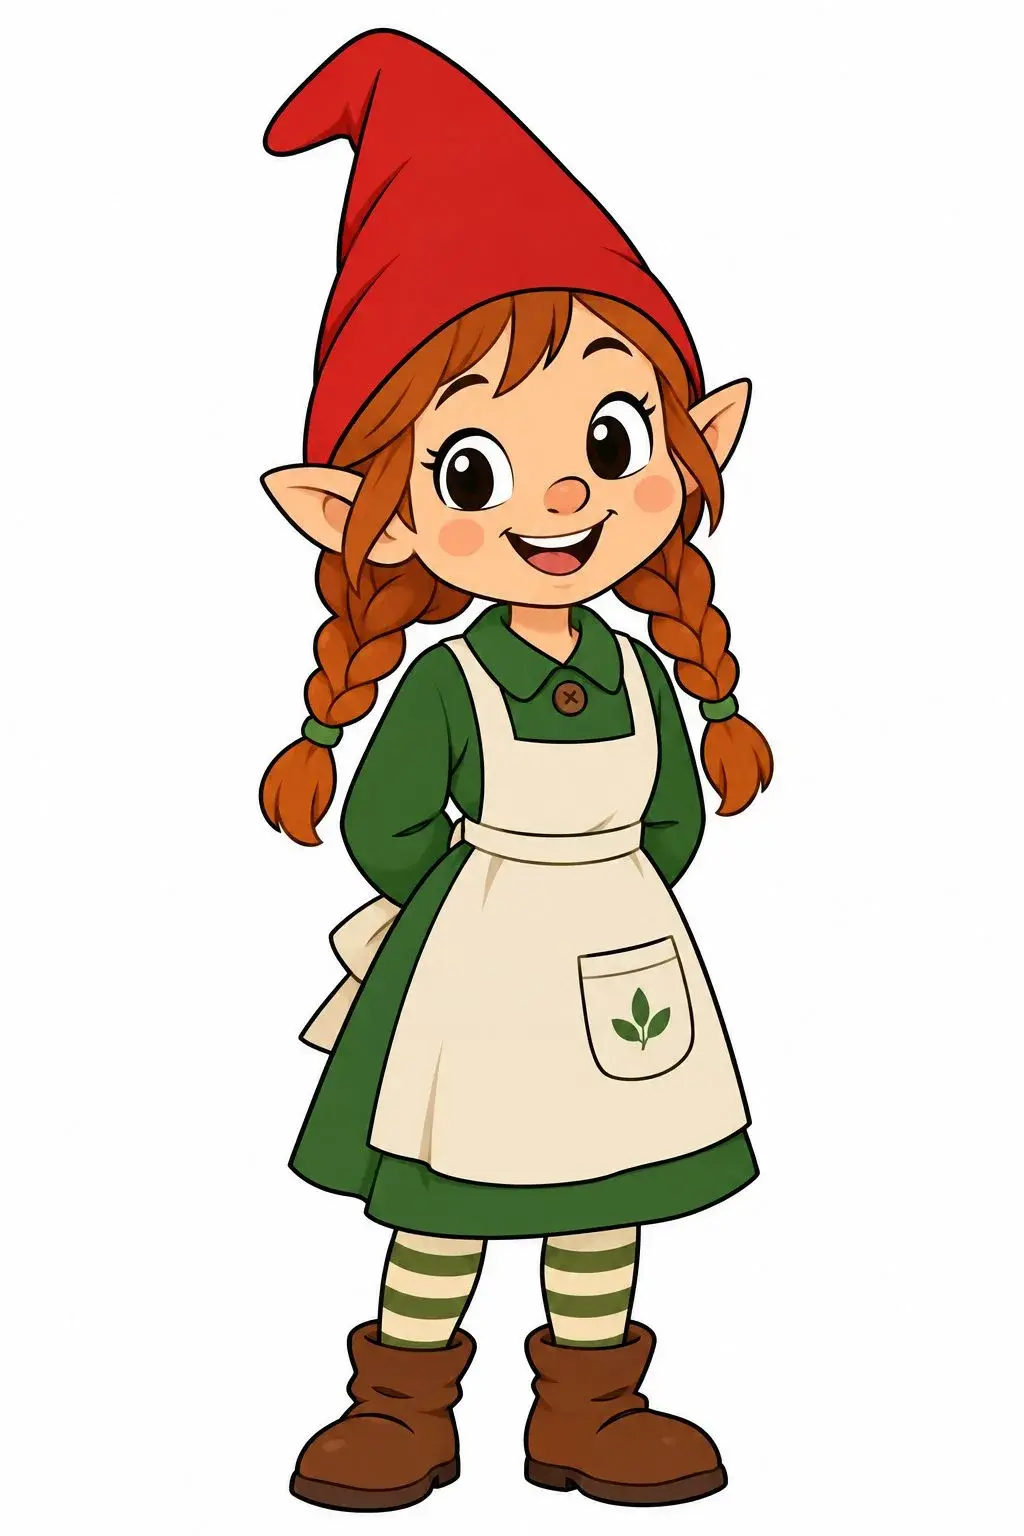
Stage by stage
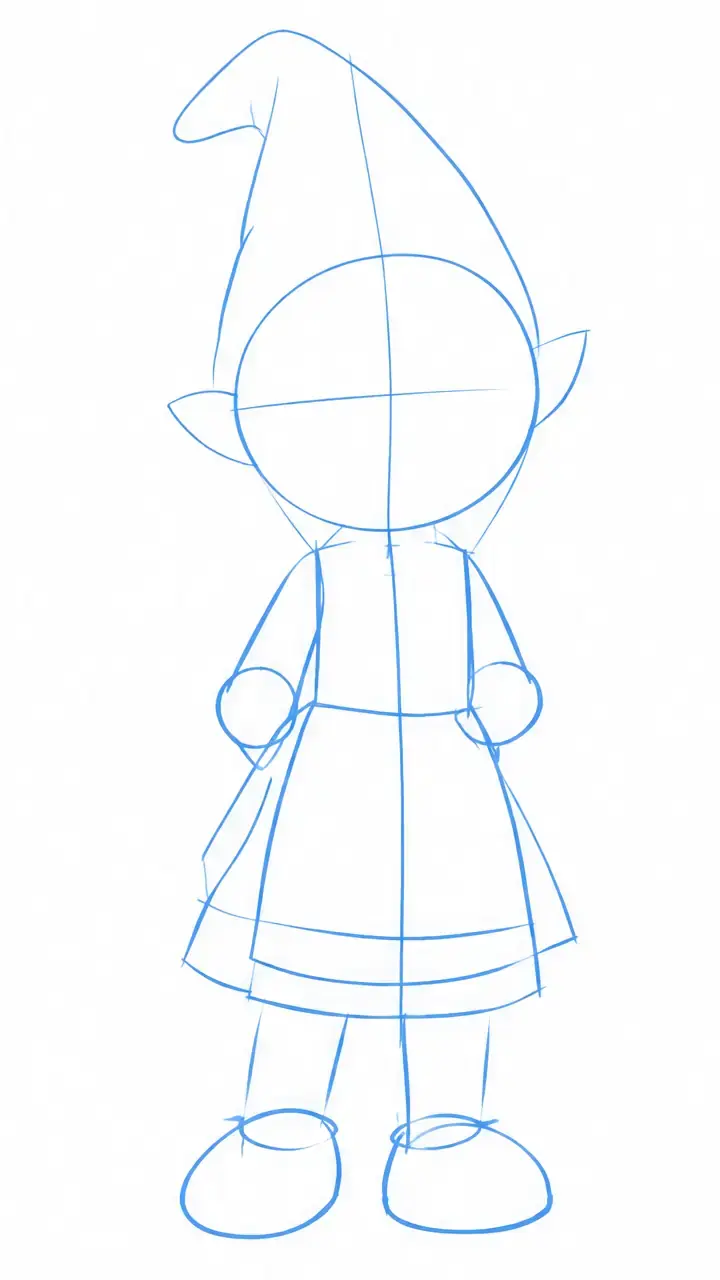
Big shapes
Sketch the largest ovals and boxes with light marks.
Check before you move on: Do the big shapes fill the page like the reference?
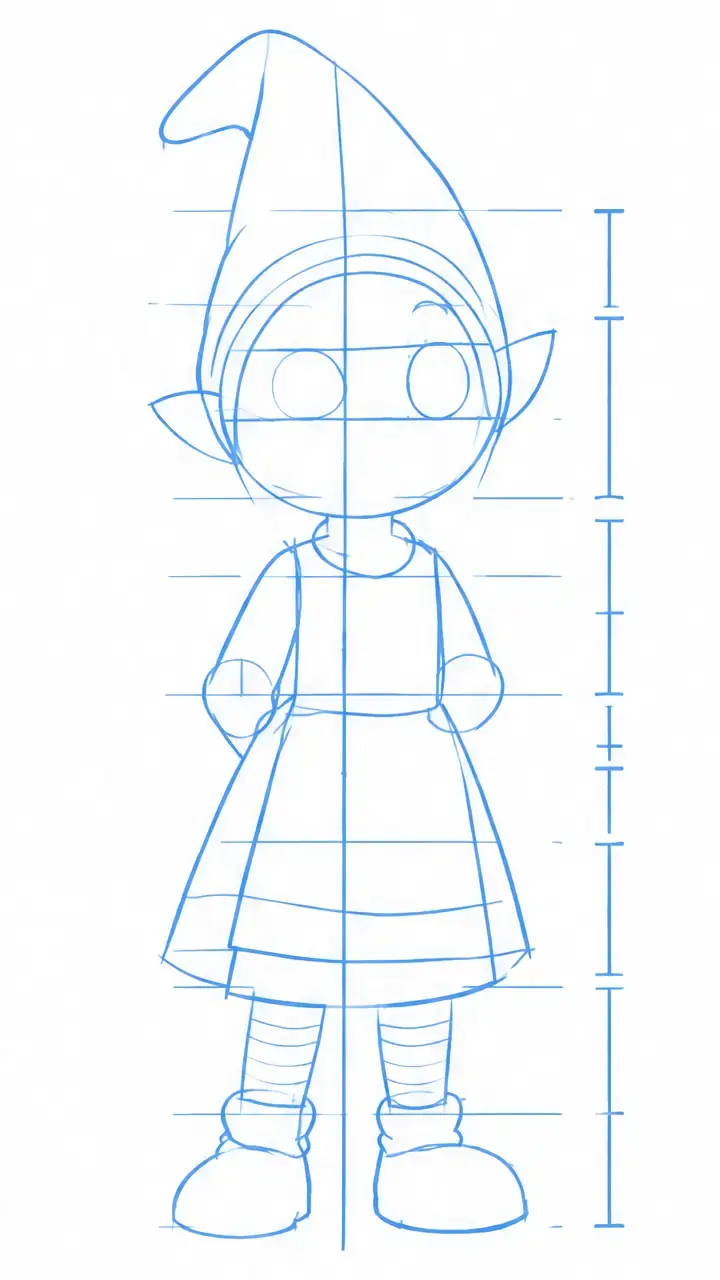
Proportions
Compare height and width, then add a center line.
Check before you move on: Are the main height-to-width ratios close?
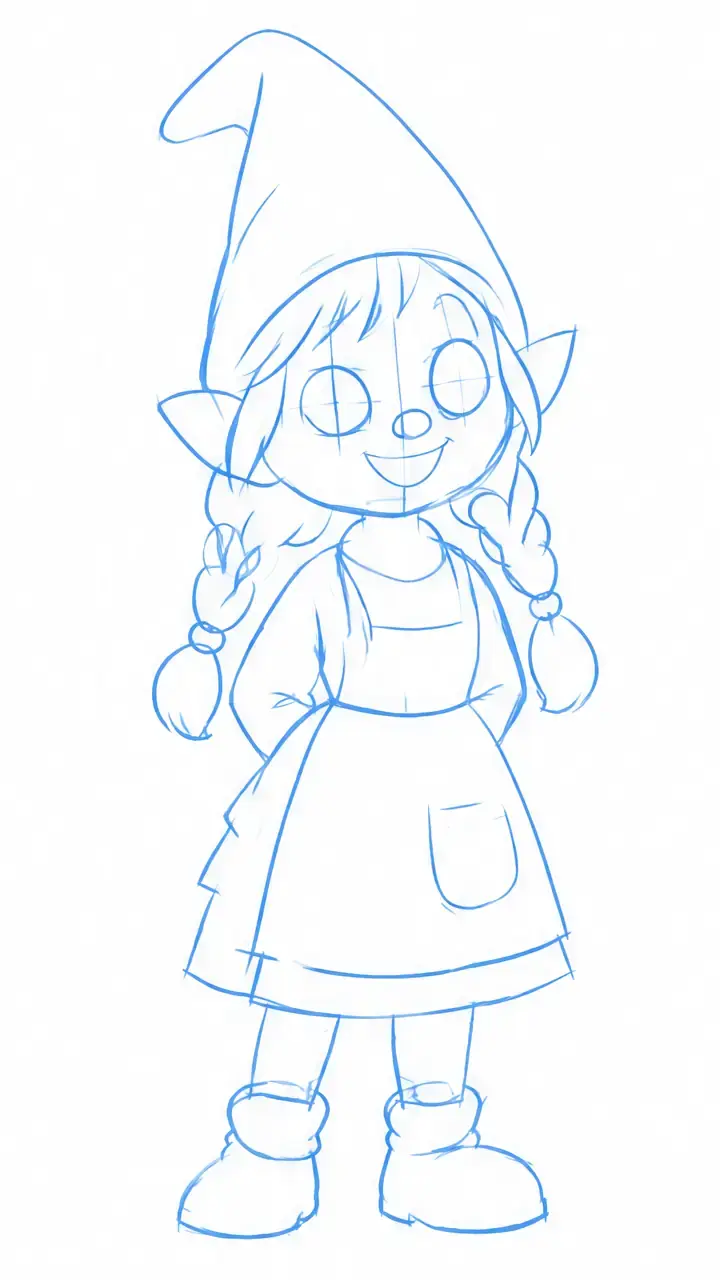
Placement
Mark the positions of the main parts before adding detail.
Check before you move on: Are the main parts in the right places?
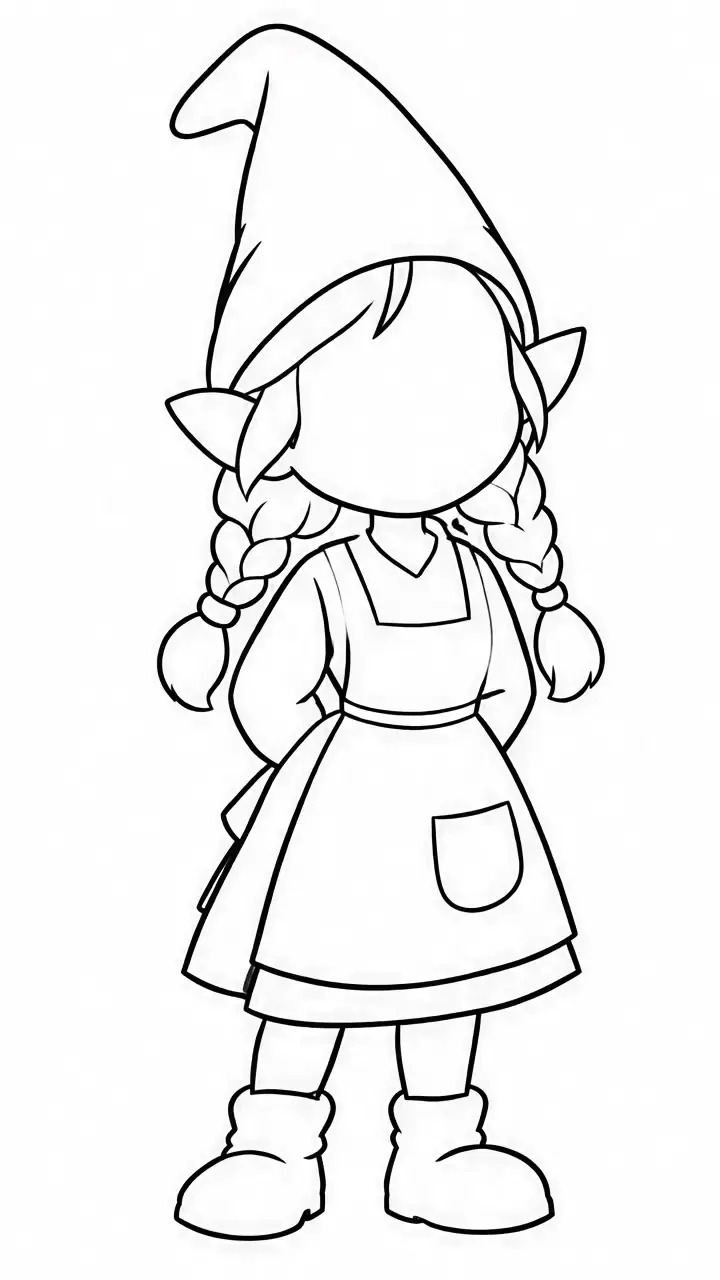
Outer contour
Choose one clear outline over your light guides.
Check before you move on: Does the silhouette match the reference?
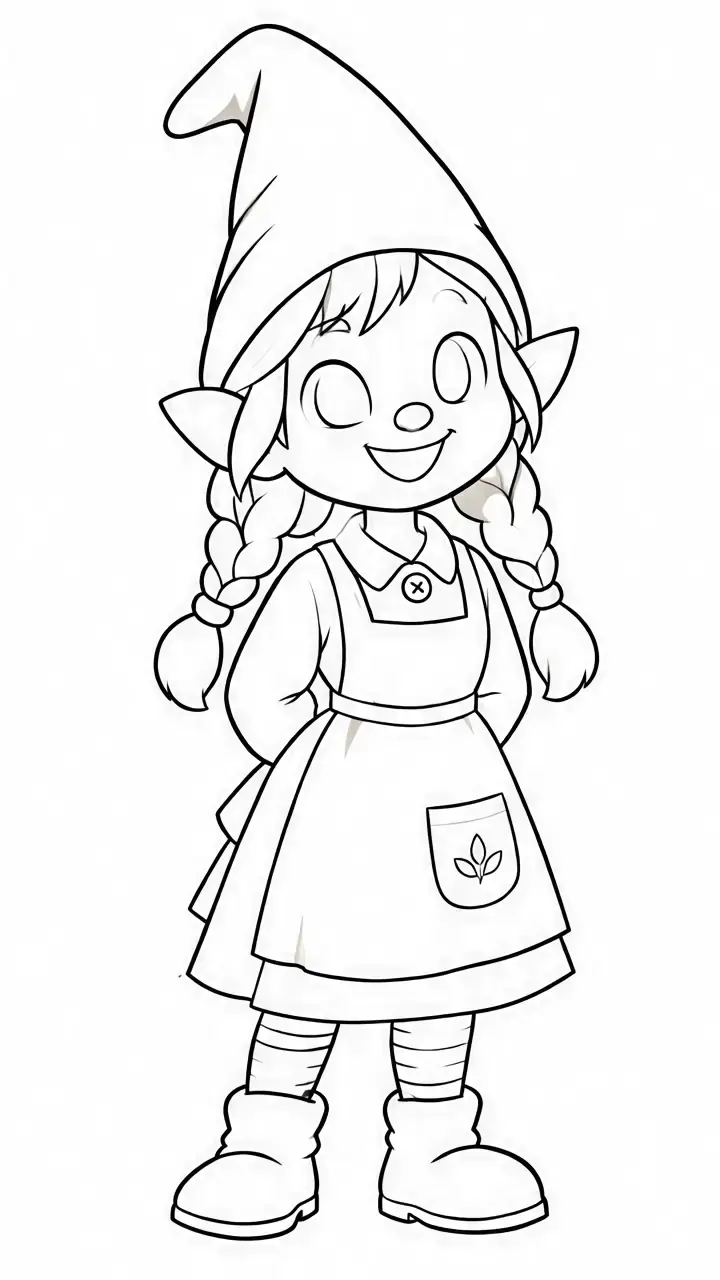
Interior edges
Add only the inner edges that explain the form.
Check before you move on: Can you understand the form without extra lines?
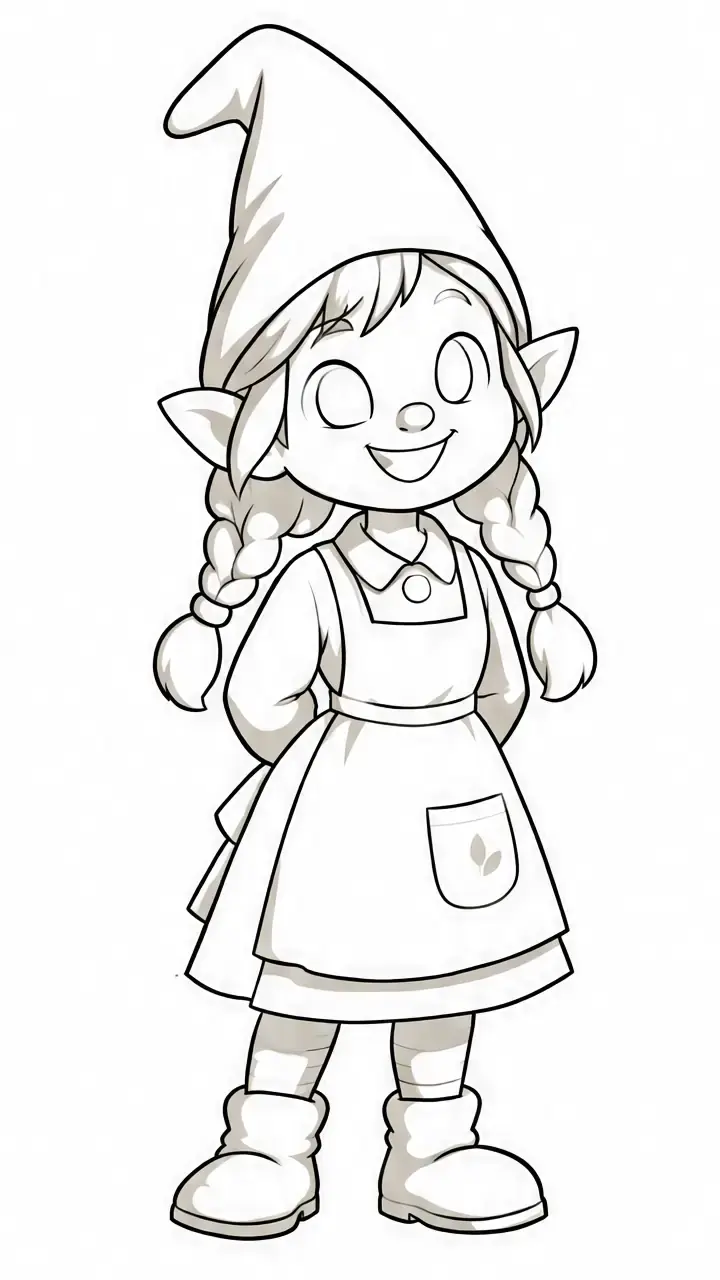
Shadow shapes
Fill the largest shadow areas with one pale tone.
Check before you move on: Are light and shadow clearly separated?
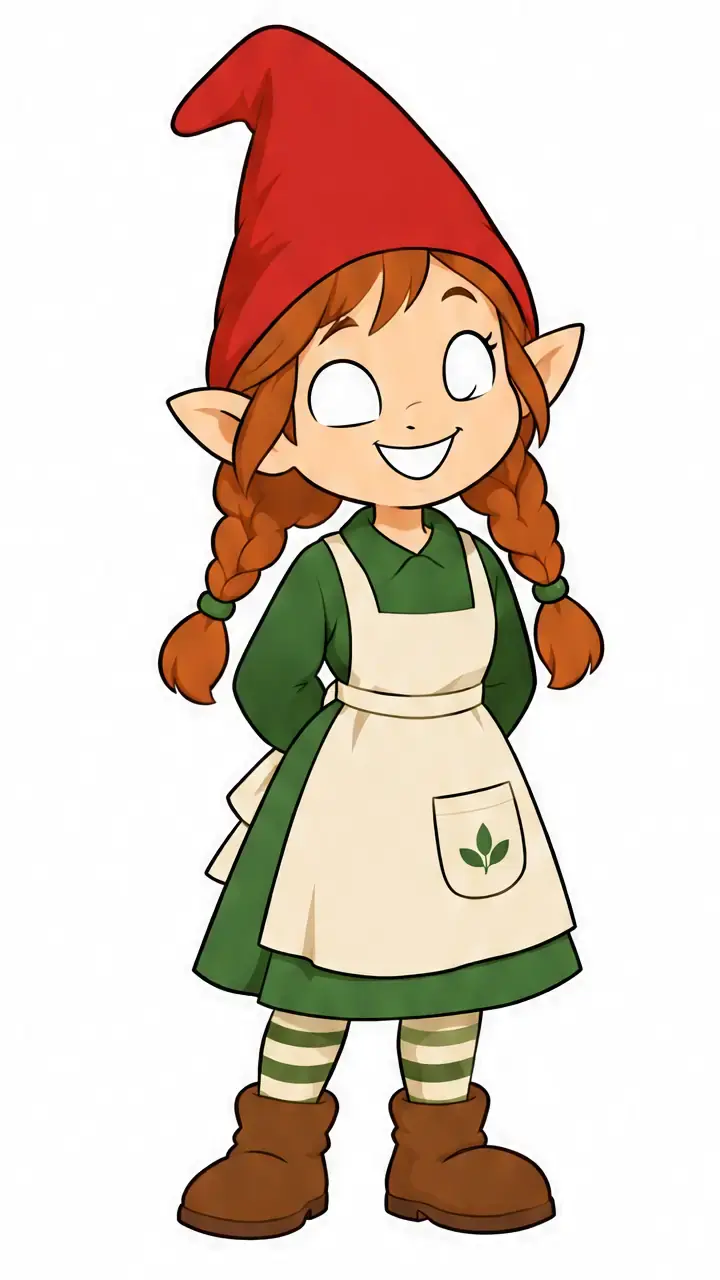
Midtones
Add a middle tone between the light and shadow.
Check before you move on: Can you see light, middle and dark groups?
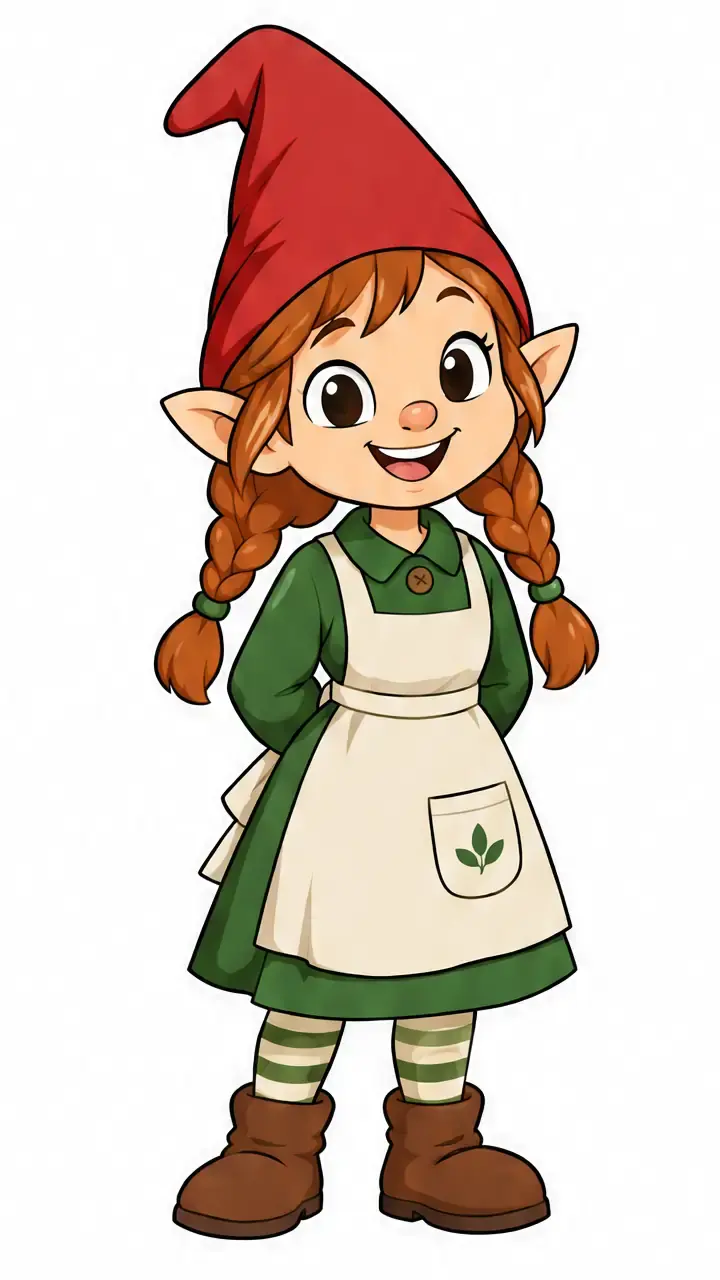
Accents
Deepen a few dark accents where forms overlap.
Check before you move on: Are the darkest marks limited and deliberate?
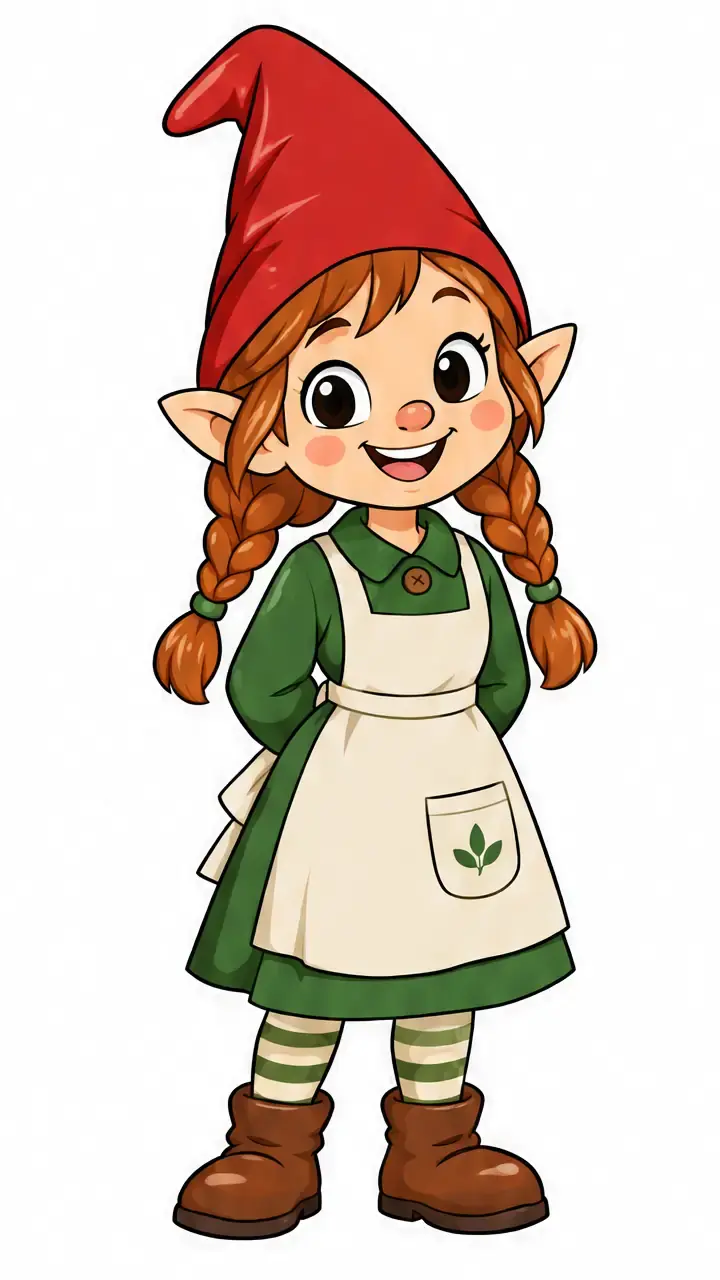
Finish
Refine a few focal details and keep the rest simple.
Check before you move on: Does one focal area stand out?
Tips for this drawing
- Judge the height in head sizes before you commit. A gnome is a big head on a short body.
- Build the cap as a triangle that leans slightly, then add the brim.
- Add details from the top down, braids first and boots last, so your hand does not smudge finished areas.
Make a lesson like this from your own photo
Sketchwise builds a guide image for every stage, checks your page along the way and scores the finished drawing.