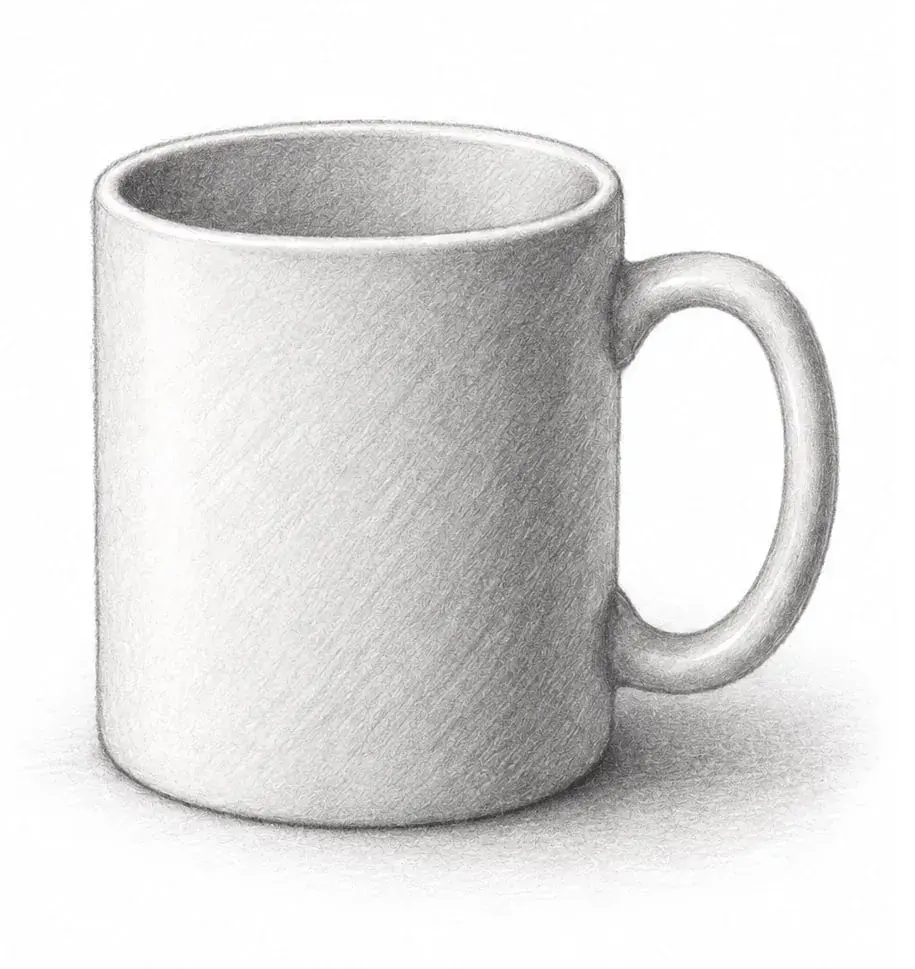
How to draw an apple
A shaded apple is the classic exercise for learning light and shadow. In four stages you go from a circle to a rounded form that looks solid, with a highlight and a cast shadow.
- Graphite
- Beginner
- 10 min
- 4 stages
Draw on paper with any pencil or pen. Compare each stage with the guide before you move on.


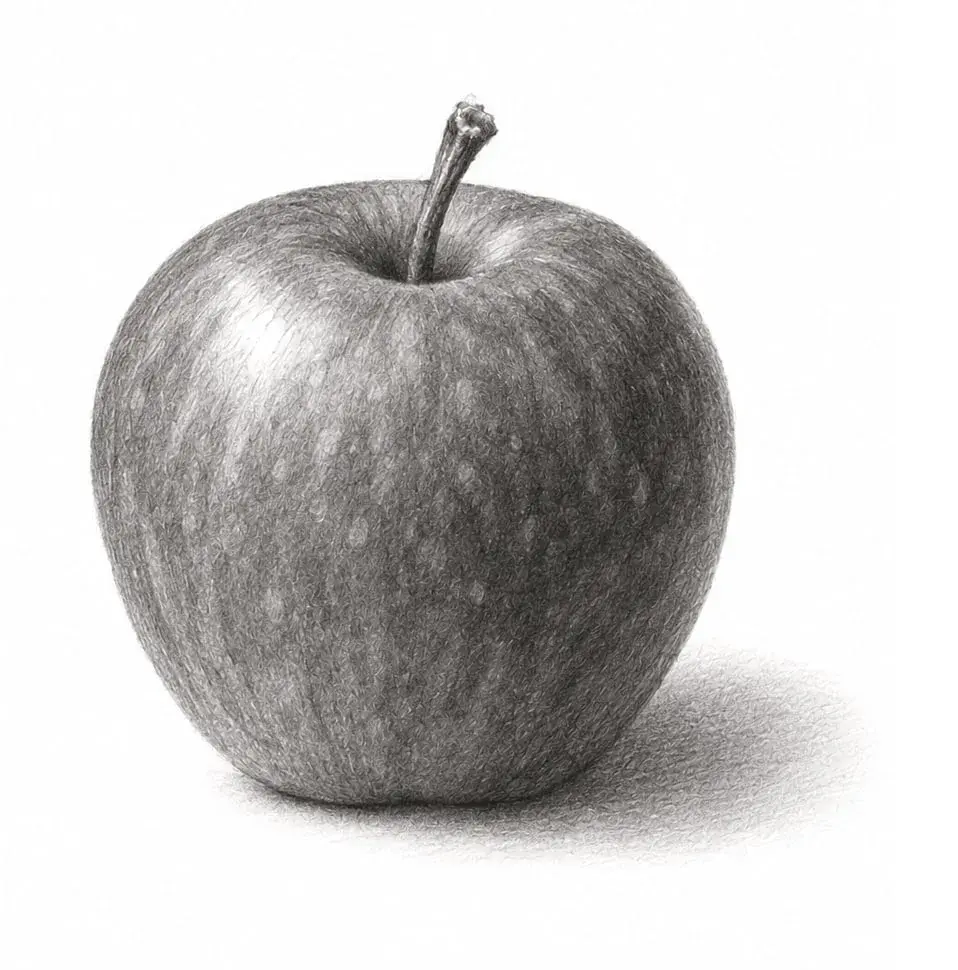
Stage by stage
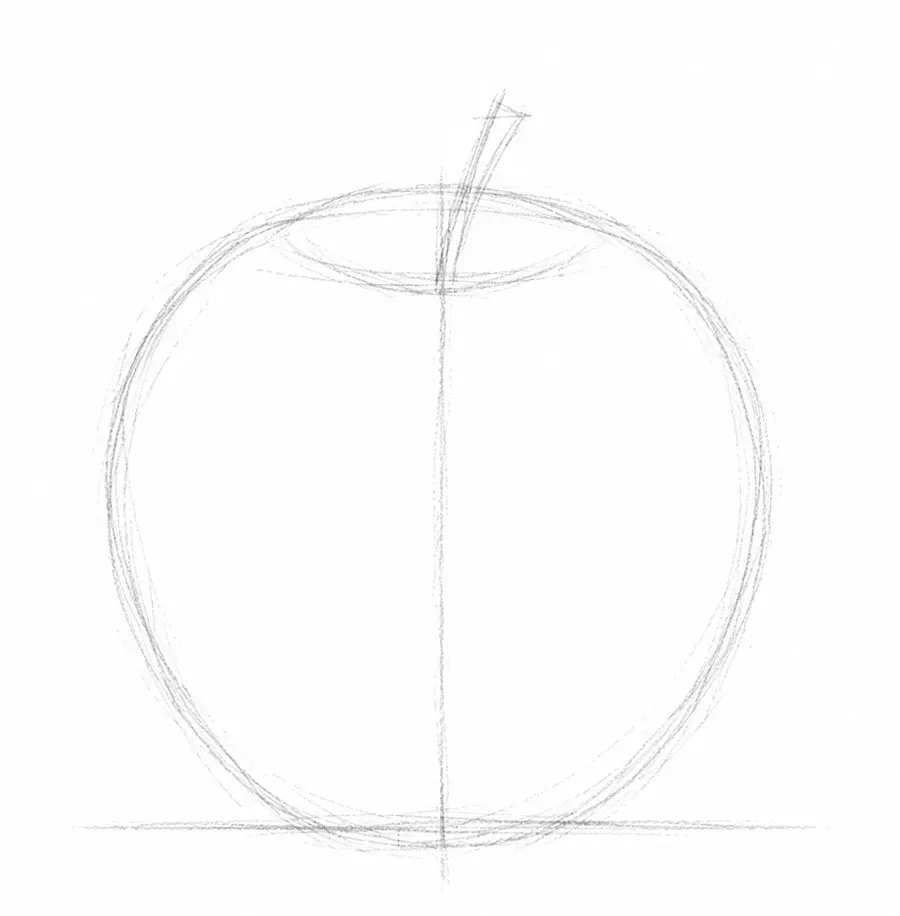
Round shape
Lightly draw a circle with a center line, a short stem line, a small dip at the top and a line for the table.
Check before you move on: Is the circle round, with the dip at the top of the center line?
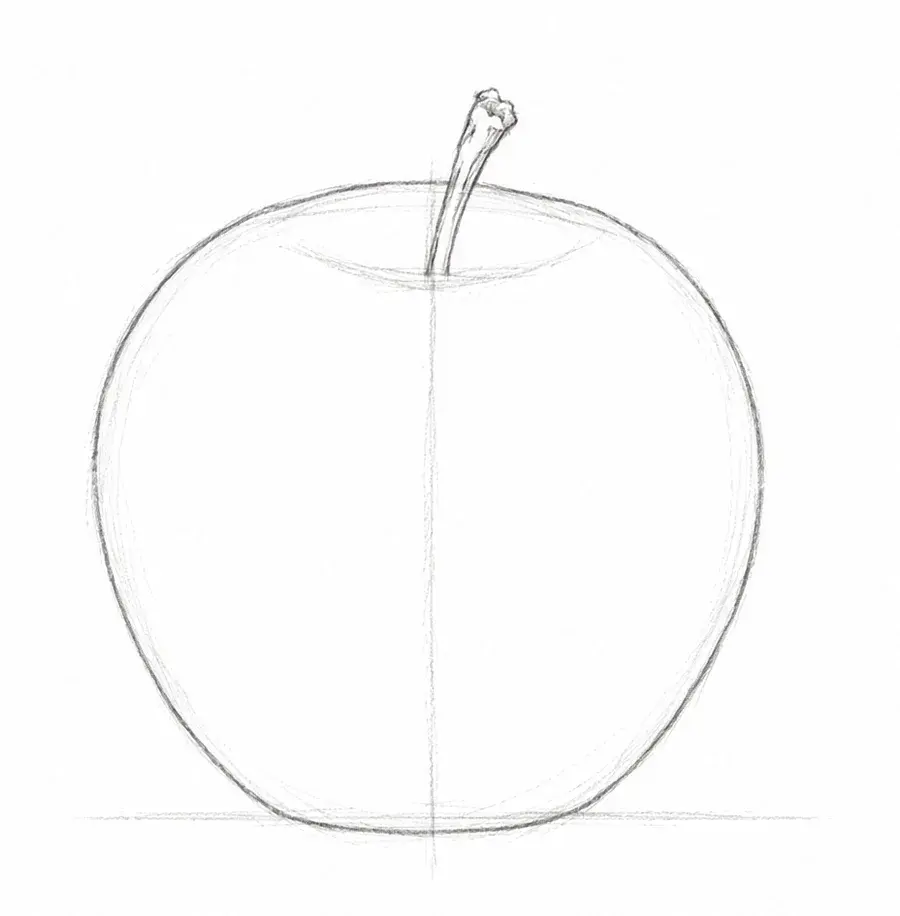
Apple outline
Trace the apple outline with a gentle dip at the top, then draw the stem.
Check before you move on: Does the outline read as an apple, with a dip at the top and a stem?
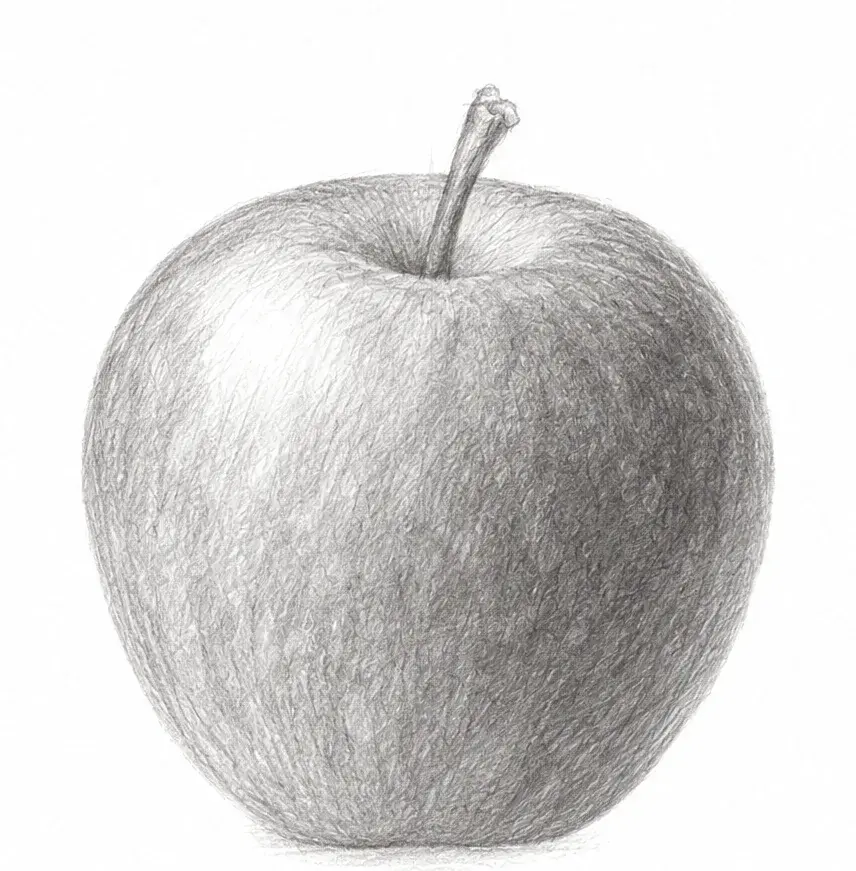
Shade the form
Pick a light direction, then shade the side away from it with smooth strokes and leave the paper bare for a highlight.
Check before you move on: Does one side fade smoothly from light to dark, with a bare highlight?
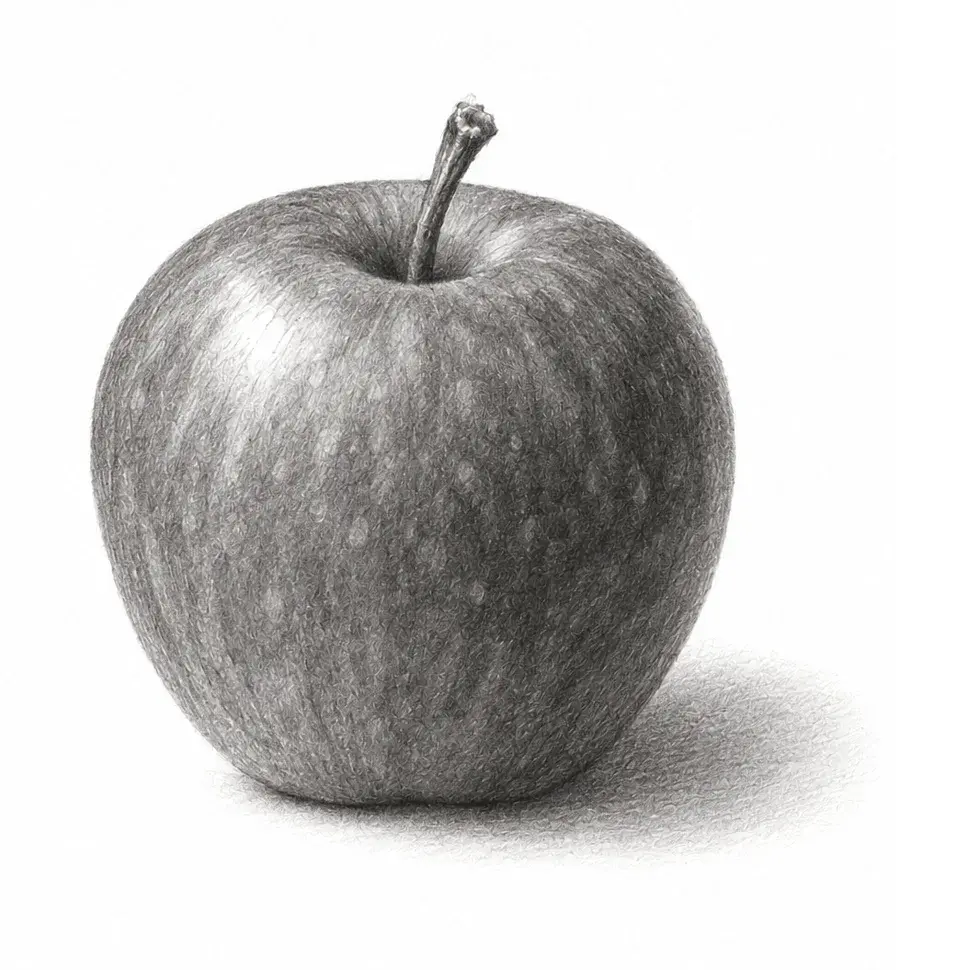
Core and cast shadow
Darken a narrow core shadow on the shaded side, add the shadow on the table under the apple and darken the stem.
Check before you move on: Does the shadow on the table sit under the apple and away from the light?
Tips for this drawing
- Pick one direction for the light before you shade, and keep it for the whole drawing.
- Leave the paper bare for the highlight instead of erasing it later.
- Put the darkest, narrow core shadow on the side away from the light, and the cast shadow on the table under the apple.
Make a lesson like this from your own photo
Sketchwise builds a guide image for every stage, checks your page along the way and scores the finished drawing.