How to start learning to draw as an adult
A calm, practical plan for adults who think they can't draw: what you need, the three skills that matter, a 15-minute routine and your first month.
If you are wondering how to start learning to draw as an adult, the honest answer is smaller than you might fear: draw simple, real objects on paper for about 15 minutes a day, learn to see big shapes and proportions before details, and judge your progress by comparing your own drawings week to week. You do not need talent, a tablet or an art class to begin. You need a pencil, some paper and a plan that does not ask too much of you on day one.
This guide gives you that plan. It covers what to buy (very little), the three skills that make a drawing look right, a short daily routine, a week-by-week first month, how to check your own work without a teacher, and the mistakes almost every adult beginner makes.
Drawing is a skill you can learn
Most adults who say "I can't draw" stopped drawing around the age of ten or twelve, when their drawings stopped matching what they could see. That gap is not a lack of talent. It is a skill that was never trained: looking carefully, measuring, and putting down light marks before dark ones.
The good news is that these skills are concrete. You can practice them one at a time, and you can see them improve on paper. The rest of this guide is built around that idea.
What you need (and what you do not)
Start with what is in your drawer. Upgrade later, once you know you enjoy it.
- Pencils. An ordinary HB pencil is enough for week one. When you buy something, get an HB for light construction lines and a 2B or 4B for darker shading.
- An eraser. Any clean eraser works. A kneaded eraser (the soft, gray, squeezable kind) lifts graphite without scrubbing the paper.
- Paper. Printer paper is fine. A cheap sketchbook is nicer because it keeps your drawings in order, which helps you see progress later.
- A sharpener, and a desk lamp from one side so you can see your lines clearly.
- Real objects. A mug, an apple, a book, a shoe. They hold still and they are honest teachers.
What you do not need yet: a drawing tablet, expensive pencils, special paper or a course. Drawing on paper is the best place to start because every line you put down stays there, and that teaches control faster than an undo button.
The three skills that make a drawing look right
Almost every "this looks wrong" moment comes from one of three skills. Learn to notice which one is failing and you will always know what to work on next.
1. Seeing big shapes
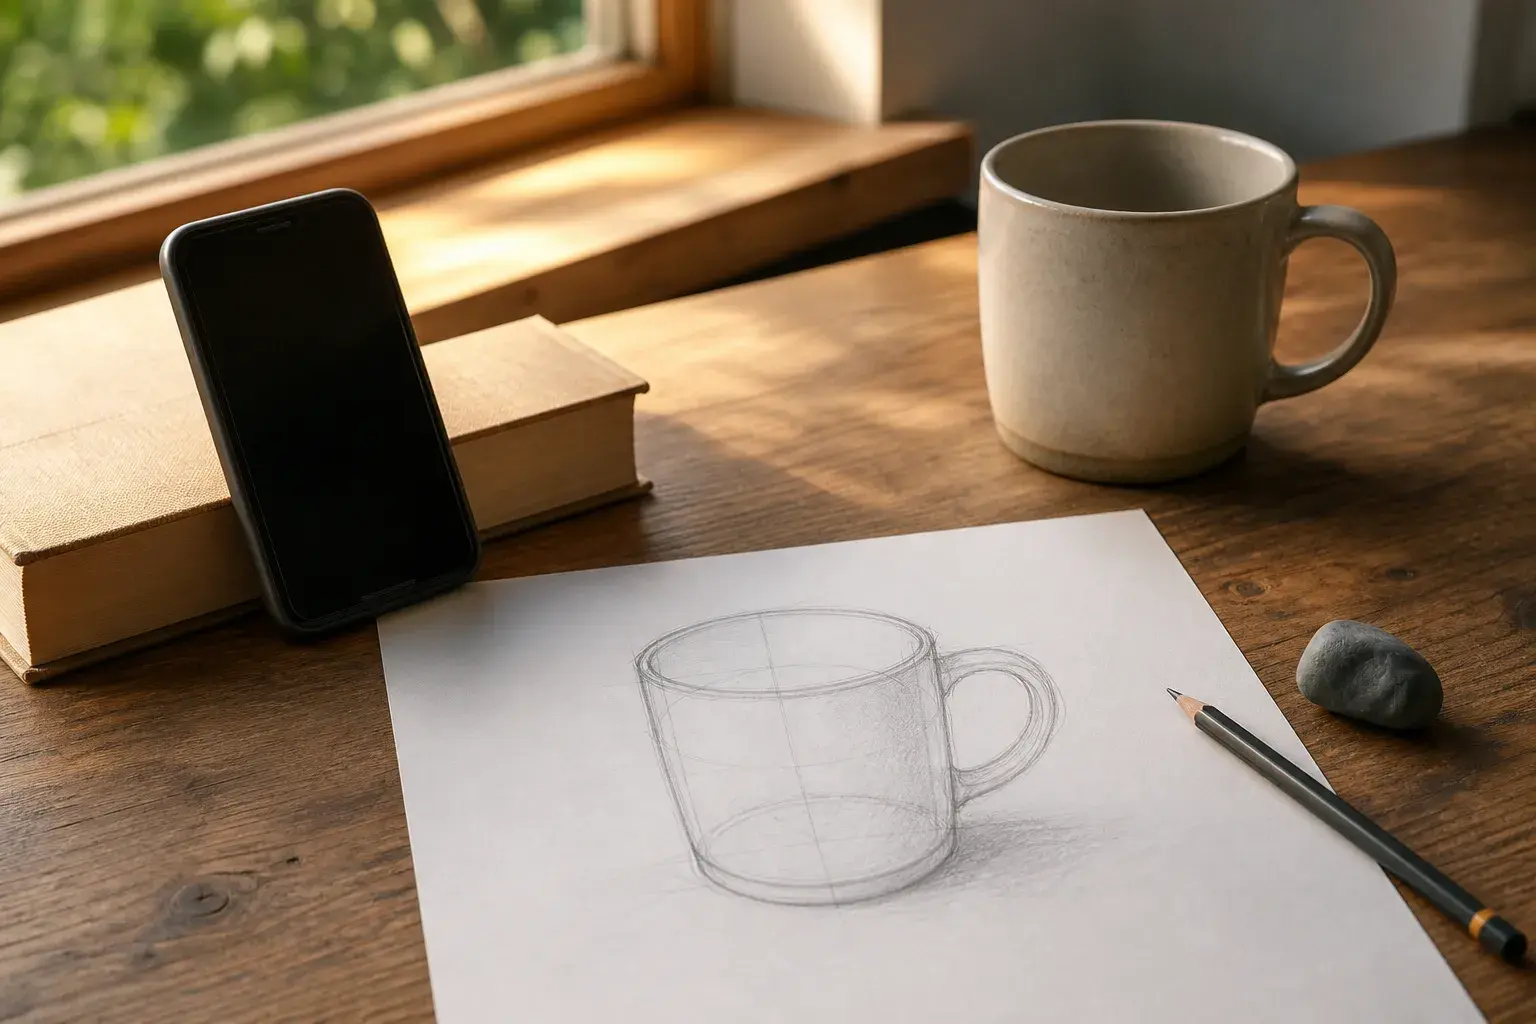
Beginners draw what they think an object looks like: an eye shape, a heart-shaped leaf. Artists draw the shapes they actually see. Start every drawing by blocking in the biggest simple shapes with very light lines: a mug is a cylinder with two ellipses and a handle, a cat is a few circles and ovals. Details come last.
The pencil mug lesson shows exactly this progression, from a few construction lines to a finished drawing.
2. Measuring proportions
Proportion means the relationship between sizes: how tall something is compared with how wide, where one part sits relative to another. Hold your pencil at arm's length, close one eye, and use the pencil to compare: "the mug is about one and a half times as tall as it is wide". Check angles the same way. Measuring feels slow at first. It becomes automatic surprisingly quickly.
3. Values (light and dark)
Value is how light or dark an area is. A drawing with a full range, from the white of the paper to a real dark, looks solid; a drawing that stays in the middle grays looks flat. Squint at your subject: the details disappear and the big light and shadow shapes become obvious. Shade those first. The shaded apple lesson is a good first exercise in values.
A 15-minute daily routine
Short and regular beats long and rare. A daily 15 minutes keeps the habit easy to start and gives your eye and hand time to improve between sessions.
| Minutes | What to do | Why |
|---|---|---|
| 0 to 3 | Warm up: fill a page corner with straight lines, circles and ellipses, drawn from the shoulder, lightly | Line control and a relaxed hand |
| 3 to 13 | Draw one simple object: big shapes, then proportions, then the main shadow | The three skills in one go |
| 13 to 15 | Step back, compare with the object, and write one thing to fix tomorrow | A clear next step |
Date every drawing. In a month, those dates will be the most encouraging thing in your sketchbook.
Your first month, week by week
This is a starting structure, not a race. If a week feels too easy, move on; if it feels hard, repeat it.
| Week | Focus | Subjects to draw |
|---|---|---|
| 1 | Light lines and simple shapes | A mug, a box, a book, a bowl |
| 2 | Proportions and angles | A shoe, a chair, a lamp, a plant pot |
| 3 | Light and shadow | An apple, an egg, a pear, a crumpled paper ball under one lamp |
| 4 | Drawing from a photo | A pet, a houseplant, a favorite object, a simple face |
In week 4 you move from real objects to photos. Photos are useful because they hold perfectly still and you can pick the light, but they hide depth, so keep drawing one real object a week as well.
Drawing from photos, with a little guidance
When you draw from a photo, choose one with light coming from one side, a simple background and a subject that fills the frame. Then break it down the same way: big shapes, proportions, values, details.
This is where a guide helps. Sketchwise turns any photo you pick into a step-by-step lesson with a guide image for every stage, so you always know the next mark to make. You still draw on real paper, with the phone propped up beside the page. At optional checkpoints you photograph your page and get specific feedback before small mistakes pile up, and the final report scores proportions, shading and accuracy and suggests a drill for next time. If a stage feels out of reach, Trace mode lays the guide over your live camera view so you can line it up with your paper.
If you would rather try a ready-made lesson first, browse the how-to-draw guides: each one shows every stage of a real lesson, from the first light shapes to the finished drawing.
How to check your own drawing
Without a teacher, you need ways to see your drawing with fresh eyes. These work immediately:
- Step back. Put the drawing next to your subject and look at both from six feet (two meters) away. Proportion errors jump out at a distance.
- Flip it. Look at your drawing in a mirror, or photograph it and flip the photo. Your brain stops "correcting" what it expects and you see what is really there.
- Squint. Compare the big light and dark shapes of the drawing with the subject. Ignore details.
- Measure one more time. Pick the two most important sizes and check them with your pencil.
- Name one fix. Not five. One clear thing for the next drawing.
Mistakes almost every beginner makes
- Starting with details. An eye drawn perfectly in the wrong place still looks wrong. Big shapes first.
- Pressing hard from the start. Dark early lines are hard to erase and lock in mistakes. Start light, darken only when you are sure.
- Drawing symbols instead of looking. Draw the shape you see, not the idea of a leaf or an eye.
- Outlining everything. Real objects have edges made by light and shadow, not black outlines.
- Only drawing from imagination. Imagination draws from a library you have not built yet. Observation builds it.
- Judging too early. One bad drawing is information, not a verdict. Compare week 1 with week 4, not today with an artist's portfolio.
Frequently asked questions
Can you learn to draw as an adult with no talent?
Yes. The skills behind convincing drawings (seeing shapes, measuring proportions, controlling values) are learnable at any age. Adults often progress steadily because they can practice deliberately and notice their own mistakes.
How long does it take to learn to draw?
There is no fixed timeline, and anyone who promises one is guessing. What changes first is usually how you see: you start noticing shapes, angles and shadows you used to miss. Keep dated drawings and compare them every few weeks; that is the most reliable measure.
Should I learn to draw on paper or on a tablet?
Start on paper. It is simple, it forces you to commit to lines, and the skills transfer to digital later. A tablet adds tools; it does not add the basics.
What should I draw first?
Simple, solid objects with clear shapes: a mug, an apple, a book, a box. Then move to things with more parts (a shoe, a plant) and only later to faces and figures.
Do I need to take a class?
No, although a good class can help. A clear routine, real subjects and an honest way to check your work take you a long way on your own, and step-by-step lessons fill the gap a teacher would.