How to draw a pumpkin step by step, in pencil
How to draw a pumpkin that looks round and solid: a squashed sphere, curved ribs, one light source, a stem set in its hollow. Pencil on paper.
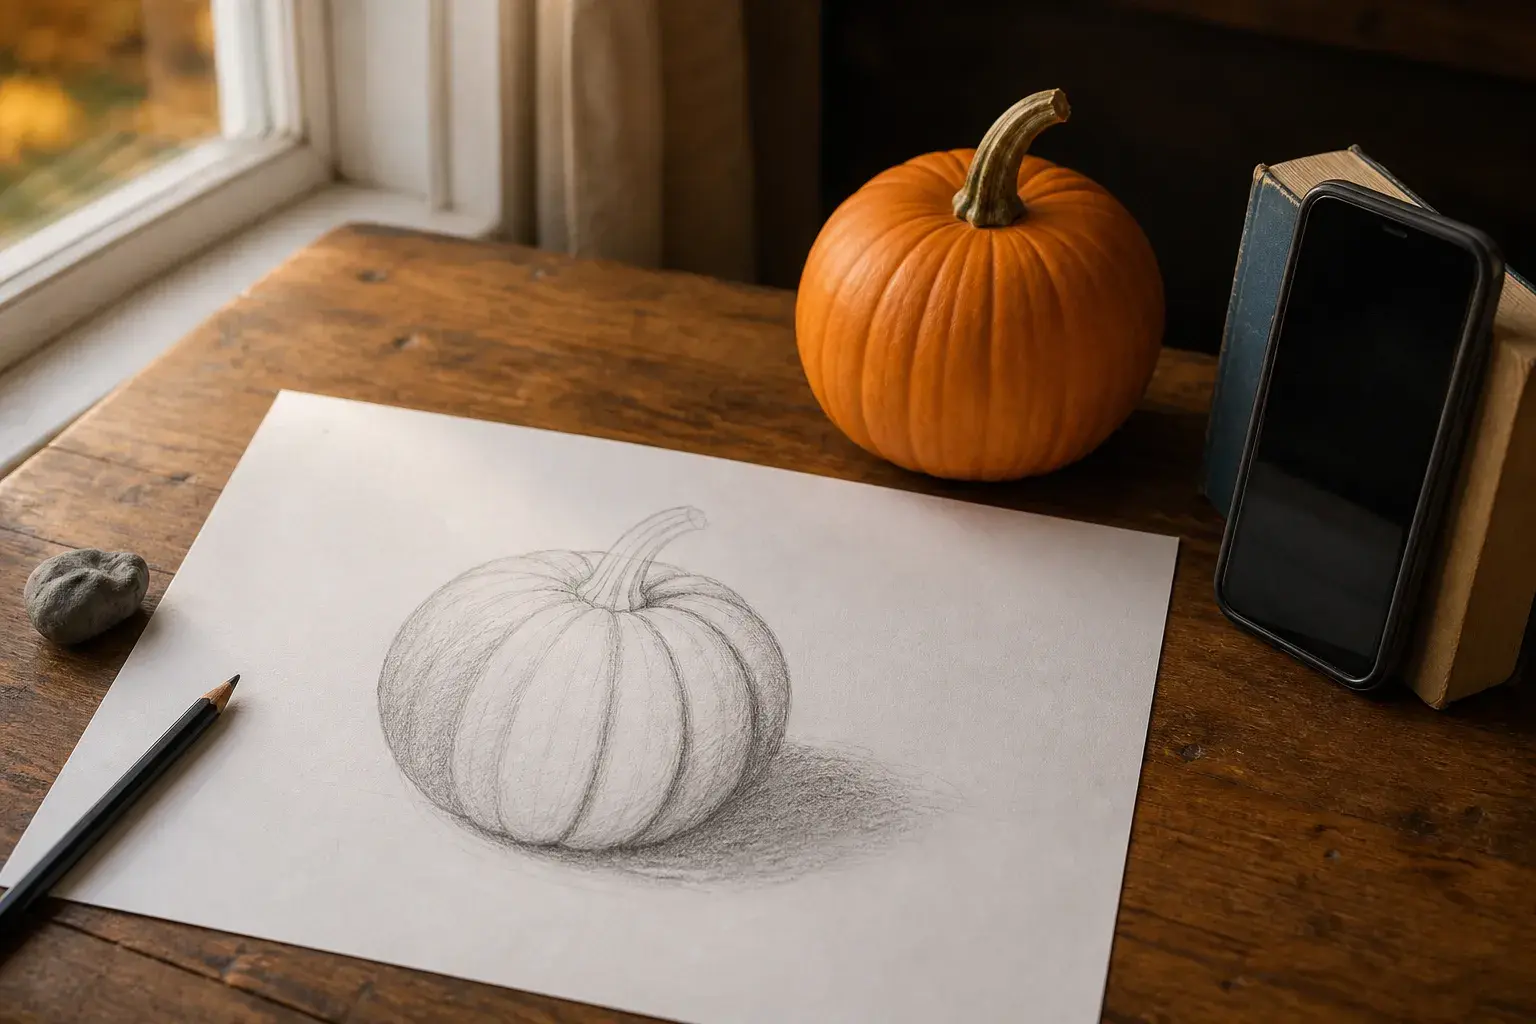
Here is how to draw a pumpkin that looks round and solid instead of flat: block in a squashed sphere, draw the ribs as curved C shapes that narrow toward the edges, set the stem into a hollow at the top, then shade the whole pumpkin from one light source before you darken the grooves. Most tutorials skip that last order of operations, and it is the difference between a striped circle and a pumpkin that sits on the table.
This guide is written for adults with a pencil and a sheet of paper, not for a kids' craft hour. It covers what to look at before you draw, nine steps from the first light shape to the cast shadow, an optional jack-o'-lantern face, how to work from a photo, and the mistakes that make pumpkins look flat. Plan on 30 to 60 minutes.
What you need
- Pencils: an HB for the construction lines, a 2B for the middle tones and a 4B or 6B for the darkest grooves and the contact shadow. With only one pencil, use it and vary the pressure.
- A kneaded eraser (the soft, gray, squeezable kind) for lifting highlights. Any clean eraser works for corrections.
- Paper: printer paper is fine. Smoother paper gives smoother tones.
- A real pumpkin and one lamp. A small pumpkin that fits on your desk is the best teacher you can get this month. Put a single lamp to one side and slightly above, and turn off the ceiling light. One light gives you one clear shadow side; several lights give you a confusing mess.
Put the pumpkin a little below your eye level, so you can see the top and the hollow where the stem grows. If you only have a photo, read the section on drawing from a photo first.
Look before you draw: what makes a pumpkin look like a pumpkin
Spend two minutes just looking. Three observations do most of the work.
- It is wider than it is tall. Hold your pencil at arm's length, close one eye and compare the width with the height: most round pumpkins are clearly wider than they are tall. Measure yours and note the answer, for example "one and a half heights wide". Drawing it as a perfect circle is the fastest way to make it look like a ball.
- The ribs are lobes, not lines. Each segment is a rounded bulge, like the segments of a peeled orange, and the lines you see are only the grooves between them. The segment facing you looks widest; the ones near the edges turn away from you and look narrow.
- The top dips. The stem sits in a hollow, and every rib curves down into it. Seen from slightly above, that hollow reads as a small ellipse, and it is the key to making the top look right.
One more thing that matters in pencil: orange is a middle value. Squint at the pumpkin and it turns into a mid gray with a lighter side and a darker side. That means you will shade almost the whole pumpkin, and only the highlights stay as white paper.
How to draw a pumpkin step by step
Keep every line light until step 6. Light lines are easy to move; dark ones lock mistakes in.
1. Block in a squashed sphere
With the HB, lightly draw a wide oval with a flatter bottom where it rests on the table. Measure the width against the height and correct it now, while it costs nothing. Draw a light horizontal line for the table edge behind it so the pumpkin has somewhere to sit.
2. Add a center line and the top ellipse
Draw a vertical center line through the oval. If the pumpkin or its stem leans, lean the line with it. Near the top, draw a small, flat ellipse on the center line: this is the rim of the hollow where the stem grows. The flatter you see the top, the flatter this ellipse.
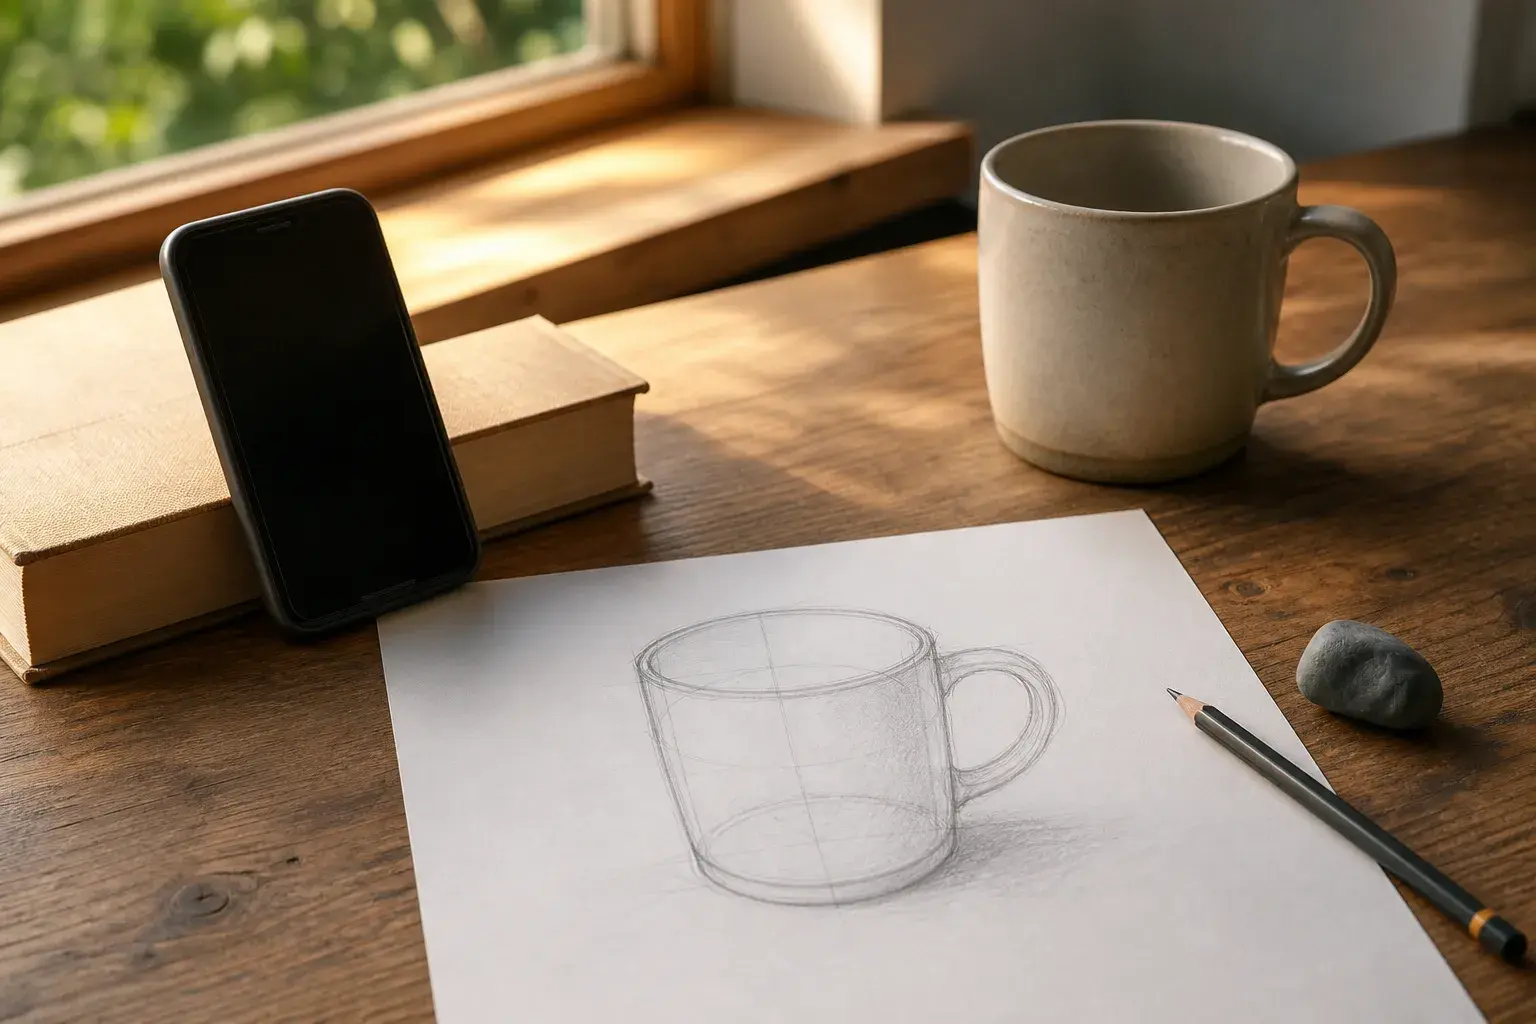
If ellipses feel shaky, the pencil mug lesson is good practice: a mug is built from the same kind of ellipses, and you can see every stage.
3. Draw the ribs as C curves, from the middle out
Start with the rib facing you: two curves from the top ellipse down to the bottom, bulging outward on each side of the center line, like a pair of parentheses. Then add the next rib on each side, a bit narrower and more curved, then the next, narrower again. The ribs at the far left and right are thin slivers that disappear around the back.
Every curve should start at the top ellipse and end near the bottom center, following the round body of the pumpkin. Real pumpkins are not symmetrical, so copy what you see: a fat rib here, a thin one there.
4. Turn the smooth oval into a bumpy outline
Look at the outline of the real pumpkin. Each rib pushes the edge out a little, so the outline is a row of shallow bumps, especially along the top. Redraw the outline with those bumps and erase the smooth oval underneath. This small change does more for realism than any amount of shading.
5. Set the stem into its hollow
A pumpkin stem is a short, thick, slightly twisted cylinder with ridges along it, flaring where it joins the fruit and ending in a cut or broken tip. Draw it growing out of the top ellipse, overlapping the back of the hollow, and add a small ellipse or rough shape for the cut end. Let the nearest ribs overlap the base of the stem a little, so it sits in the dip instead of balancing on top.
6. Decide on the light, then lay the base tone
Check where your lamp is, say the upper left, and keep that direction for the whole drawing. With the HB or 2B, cover the whole pumpkin in an even, light tone, leaving the paper white only on the brightest spots: usually the tops of the ribs nearest the light. This base tone is the orange of the pumpkin translated into gray.
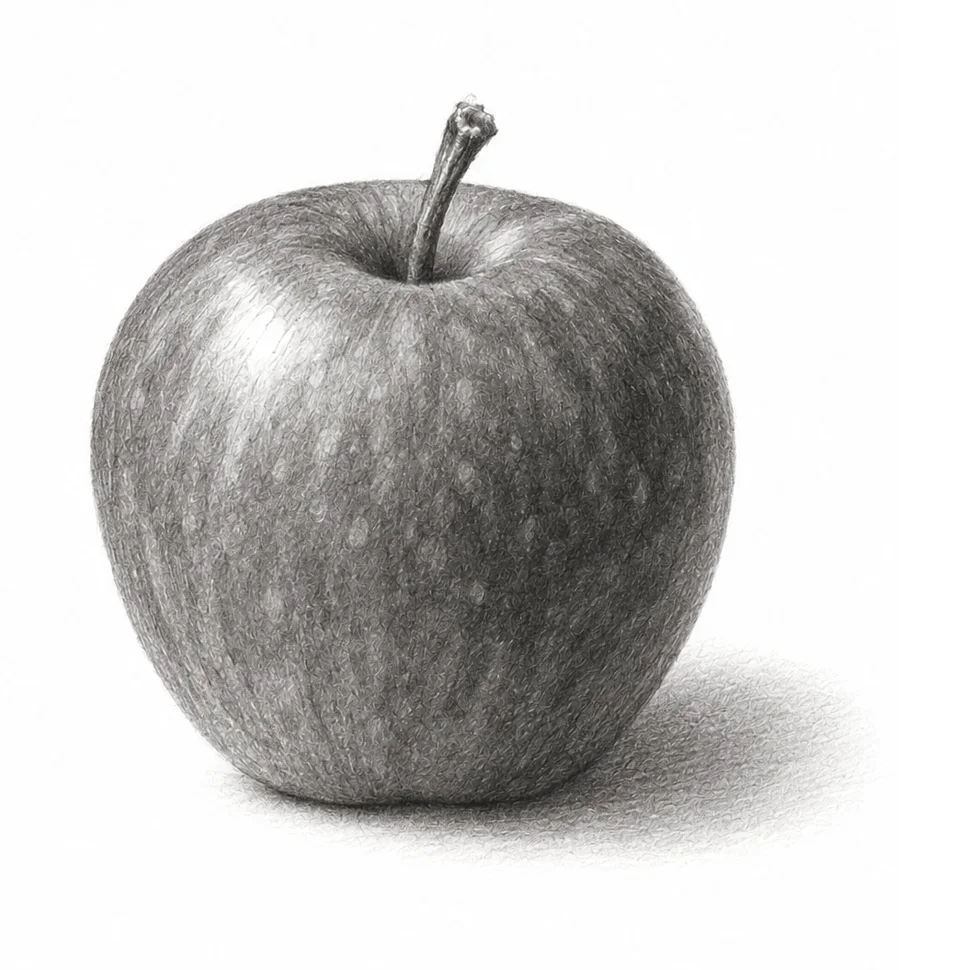
Then shade the big shadow side as if the pumpkin were one smooth ball: darker on the side away from the light, darkest in a band just before the bottom edge on that side (the core shadow). Shade across all the ribs at once. This single step is what makes the pumpkin look round. If you have done the shaded apple lesson, it is exactly the same logic.
7. Shade each rib like a small cylinder
Now treat each rib as its own rounded form. Each one has a lighter side facing the lamp and a darker side turning away, with the groove at the darkest point. Use the 2B and short strokes that follow the curve of the rib, top to bottom, like lines of longitude on a globe. Strokes that follow the form describe its shape; random scribbles flatten it.
The important part: the grooves are not all the same dark. On the lit side they are soft and gray, almost lost. On the shadow side they become deep and dark. Use the 4B or 6B only for the deepest grooves on the shadow side and inside the hollow around the stem.
8. Ground it with a cast shadow
Shade the shadow the pumpkin throws on the table, on the side away from the light. Make it darkest right where the pumpkin touches the table, a thin, almost black line called the contact shadow, and let it get lighter and softer as it moves away. A pumpkin without that dark contact line looks like it is floating.
Inside the shadow side, just above the table, the surface often looks a touch lighter: light bouncing up from the table. Lift it gently with the kneaded eraser, but keep it darker than anything on the lit side.
9. Finish the stem and the details
Shade the stem with the same light logic: lines that run along its ridges, a darker side away from the lamp, a light cut end. Press the kneaded eraser into a point to lift a few highlights on the tops of the front ribs. Add a few scars or speckles if your pumpkin has them, and stop there.
Step back six feet (two meters), or photograph the drawing and flip the photo. Check the three things from the start: wider than tall, ribs narrowing toward the edges, a dip at the top.
Optional: turn it into a jack-o'-lantern
Long before pumpkins, people in Britain and Ireland hollowed out turnips and mangelwurzels into lanterns with carved faces (the history is on Wikipedia). Pumpkins are much kinder to carve, and to draw. Three things make a drawn one convincing:
- Faces sit on a curved surface. Draw a light eye line that curves around the pumpkin like the ribs do, and place the features along it. An eye on a side rib is narrower than one on the front rib.
- Carved holes have thickness. The pumpkin wall is thick, so through each hole you see a sliver of the cut edge on one side. Draw that narrow band and every hole stops looking like a sticker.
- The light decides everything. By day, the holes are the darkest shapes on the pumpkin. With a candle inside in a dark room, it reverses: leave the holes and the cut edges as bare paper, and shade the outside of the pumpkin darker, lightest near the holes.
Drawing a pumpkin from a photo
No pumpkin on hand, or one that will not hold still under a lamp for an hour? A photo works. Choose one with light from one side, a plain background and a clear view of the top. Your own photo is best: you know the pumpkin, and you can take it from just above eye level. A quick check: look at the photo in black and white. If the shadow side and the lit side are clearly different grays, the photo will be easy to draw from.
Photos flatten depth, so lean harder on the three observations above: measure the width, find the hollow, narrow the side ribs.
If you want each step laid out for you, Sketchwise turns any photo you pick, your own pumpkin included, into a step-by-step lesson with a guide image for every stage, in pencil sketch or realistic graphite and at beginner, intermediate or advanced level. You draw on real paper with the phone propped up beside the page. At optional checkpoints you photograph your page and get feedback before an early mistake, like a too-round body, carries into the shading. The final report scores things like proportions and shading and suggests a drill for next time. If the ribs refuse to line up, Trace mode lays the current stage over your live camera view so you can check them against your paper.
Common mistakes and how to fix them
| Mistake | What it looks like | The fix |
|---|---|---|
| A perfect circle | A ball with lines on it | Measure: make it wider than tall, flatten the bottom |
| Straight or evenly spaced ribs | A striped beach ball | Curve every rib like a parenthesis; narrow them toward the edges |
| A smooth outline | A balloon | Let each rib push a small bump into the outline |
| A stem stuck on top | A stick on a ball | Draw the hollow and let the ribs curve down into it |
| Every groove drawn dark | Flat stripes | Shade the big shadow side first; keep grooves soft in the light |
| Only the grooves shaded | A pale, paper-white pumpkin | Lay a base tone over the whole pumpkin; orange is a middle value |
| No contact shadow | A pumpkin floating above the table | A thin, very dark line where it touches the table |
| Dark outline everywhere | A cut-out sticker | Let the shadow side define the edge; keep the lit edge light |
A three-day pumpkin practice plan
One drawing teaches you something; three teach you much more. If you have a few evenings this week:
| Day | Time | What to draw |
|---|---|---|
| 1 | 15 minutes | Three quick block-ins (steps 1 to 5 only) of the same pumpkin from different heights: eye level, slightly above, from directly above |
| 2 | 20 minutes | One value study with only three tones: paper white, middle gray, dark. No details, just the big light and shadow shapes |
| 3 | 45 minutes | The full nine steps, then put day 1 next to it |
Date each drawing. Comparing day 1 with day 3 is the quickest way to see what you have learned. If you are just getting started with drawing in general, the guide to starting to draw as an adult puts exercises like this into a calm first month.
Frequently asked questions
How do you draw a pumpkin step by step for beginners?
Draw a wide, squashed oval, a center line and a small ellipse at the top for the stem's hollow. Add the ribs as curved lines from the middle outward, getting narrower toward the edges, then the stem. Shade the whole pumpkin from one light direction before darkening the grooves, and finish with a cast shadow on the table.
What pencil is best for drawing a pumpkin?
An HB for the light construction lines and a 2B for most of the shading cover nearly everything. A 4B or 6B helps for the deepest grooves and the contact shadow. A kneaded eraser lifts highlights cleanly.
How do I make my pumpkin drawing look 3D?
Shade the pumpkin as one round form first, with a clear light side and shadow side, then shade each rib as a smaller rounded form. Keep the grooves soft on the lit side and dark on the shadow side, and add a dark contact shadow where it touches the table.
How many ribs should a pumpkin have?
It varies from pumpkin to pumpkin, so count the ones you can see on yours. What matters more than the number is that the front ribs look wide and the side ribs look narrow, which is what makes the pumpkin turn.
Can I draw a pumpkin from a photo instead of a real one?
Yes. Pick a photo with light from one side and a clear view of the top, and check it in black and white to make sure the light and shadow sides read clearly. A real pumpkin is still the better teacher if you have one, because you can see how the ribs curve as you move your head.